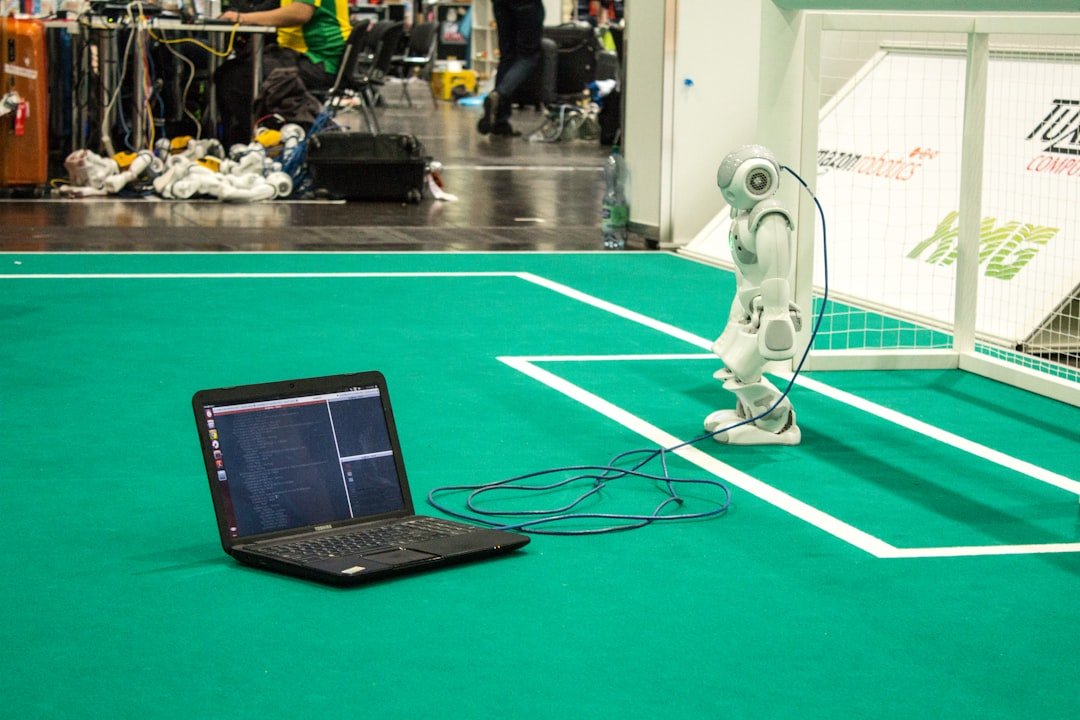
Have you ever watched a video of a robot arm gracefully picking up an object and wondered… how? How does it go from just seeing a bunch of pixels to knowing exactly how to move, how far to reach, and when to close its gripper? It feels like magic, but it’s actually a fascinating intersection of vision, reasoning, and action.
Today, we’re going to pull back the curtain on that magic. We’re getting our hands dirty with a model called MolmoAct, developed by researchers at AI2. This isn't just another image-to-text model; it's designed to think like a robot. It looks at a scene from a couple of camera angles, listens to a command (like "close the box"), and then thinks through the problem step-by-step.
It figures out the 3D depth of the scene, traces a path for its arm, and then spits out the precise commands to make it happen. It’s pretty wild. In this guide, we're not just going to talk about it—we’re going to build it, run it, and see how it thinks. Let's get started.
Getting Our Workshop Ready: Setup and Installation
First things first, we can't build anything without the right tools. We need to set up our environment with all the necessary libraries. Think of this as laying out all your parts and tools on the workbench before you start assembling.
We’ll need PyTorch for the heavy lifting, Transformers from Hugging Face to handle the model itself, and a few other helpers like Pillow for images and Matplotlib for visualizing what the model is "thinking."
The code below is a simple script that just goes through and installs everything we need. No fuss.
print("=" * 80)
print(" SECTION 1: INSTALLATION AND SETUP")
print("=" * 80)

import subprocess
import sys

def install_packages():
    """Install all required packages for MolmoAct"""
    packages = [
        "torch>=2.0.0", "torchvision", "transformers==4.52", "accelerate",
        "einops", "Pillow", "numpy", "matplotlib", "requests", "scipy",
        "huggingface_hub",
    ]
    for package in packages:
        print(f" Installing {package}...")
        subprocess.check_call([sys.executable, "-m", "pip", "install", "-q", package])
    print(" All packages installed successfully!")

install_packages()
Once that's done, we'll import everything into our script and check if we have a GPU available. These models are massive, and a GPU makes the difference between waiting a few seconds and waiting for what feels like an eternity.
print("\n" + "=" * 80)
print(" SECTION 2: IMPORTS AND CONFIGURATION")
print("=" * 80)

import torch
# ... plus all the other necessary imports from the original ...
import numpy as np
import matplotlib.pyplot as plt
from PIL import Image
# ... etc.

device = "cuda" if torch.cuda.is_available() else "cpu"
print(f" Device: {device}")
if torch.cuda.is_available():
    print(f" GPU: {torch.cuda.get_device_name(0)}")
Building Our Mission Control: Loading the MolmoAct Model
Okay, environment is ready. Now for the main event: loading the MolmoAct model. These models can be a bit clunky to work with directly, so we're going to build a simple "wrapper" class. Think of this class as the cockpit or mission control for our model. It will handle all the complicated stuff—loading the weights, managing the processor, and giving us simple commands to work with.
We'll start by defining a configuration to hold settings like the model name and what precision to use (bfloat16 is great for performance if your GPU supports it).
from dataclasses import dataclass

@dataclass
class MolmoActConfig:
    """Configuration for MolmoAct model"""
    model_name: str = "allenai/MolmoAct-7B-D-0812"
    torch_dtype: str = "bfloat16"
    device_map: str = "auto"
    max_new_tokens: int = 256
    temperature: float = 0.0
    do_sample: bool = False
Now, let's build the main MolmoActModel class. The most important part is the load method. This is where we connect to Hugging Face, download the model weights and the processor (which handles turning our images and text into numbers the model understands), and get everything ready on the GPU.
The first time you run this, it might take a few minutes to download the 7-billion-parameter model. Go grab a coffee!
class MolmoActModel:
    """
    MolmoAct Model Wrapper for Easy Inference
    This class provides a high-level interface for loading, running, and parsing.
    """
    def __init__(self, config: Optional[MolmoActConfig] = None):
        self.config = config or MolmoActConfig()
        self.model = None
        self.processor = None
        self._loaded = False

    def load(self) -> None:
        """Load the MolmoAct model and processor"""
        if self._loaded:
            print(" Model already loaded!")
            return

        print(f" Loading MolmoAct model: {self.config.model_name}")
        from transformers import AutoModelForImageTextToText, AutoProcessor

        dtype = getattr(torch, self.config.torch_dtype)

        self.model = AutoModelForImageTextToText.from_pretrained(
            self.config.model_name,
            trust_remote_code=True,
            torch_dtype=dtype,
            device_map=self.config.device_map,
        )
        self.processor = AutoProcessor.from_pretrained(
            self.config.model_name,
            trust_remote_code=True,
        )
        if hasattr(self.processor, 'tokenizer'):
            self.processor.tokenizer.padding_side = "left"

        self._loaded = True
        print(" Model loaded successfully!")
How to Ask the Right Question: Crafting the Prompt
Here’s where it gets really interesting. MolmoAct is a "reasoning" model, which means you can't just bark a command at it. You have to guide its thought process. We do this with a carefully crafted prompt.
It’s like asking a person for directions. If you just say "How do I get to the store?", you might get a simple answer. But if you say, "To get to the store, let's think step-by-step. First, which way do I turn out of the driveway? Second, what's the main road I need to find?", you'll get a much more detailed plan.
Our prompt does exactly that. We ask it to first think about the depth map, then the trajectory of the robot's arm, and then, based on all that, decide on the action.
def build_prompt(self, instruction: str) -> str:
    """ Build the reasoning prompt for MolmoAct """
    prompt = (
        f"The task is {instruction}. "
        "What is the action that the robot should take. "
        f"To figure out the action that the robot should take to {instruction}, "
        "let's think through it step by step. "
        "First, what is the depth map for the first image? "
        "Second, what is the trajectory of the end effector in the first image? "
        "Based on the depth map of the first image and the trajectory of the end effector in the first image, "
        "along with other images from different camera views as additional information, "
        "what is the action that the robot should take?"
    )
    return prompt
This structured query is the secret sauce. It forces the model to generate its reasoning chain, which we can then extract and use.
The Magic Moment: Generating a Plan from Pixels
With our model loaded and our prompt ready, it's time for the main event. We're going to create a generate method that takes in our images, our instruction, and brings it all together.
Here’s the flow:
- We build the prompt with our instruction.
- The
processortakes our images and the prompt and converts them into tensors (the numerical format models understand). - We feed these tensors into the
model.generate()function. This is where the AI does its thinking. - The model outputs a sequence of tokens, which we decode back into human-readable text.
- Finally—and this is crucial—we parse that text to pull out the depth info, the trajectory coordinates, and the final action values.
@torch.inference_mode()
def generate(self, images: List[Image.Image], instruction: str) -> Dict:
    """ Generate action reasoning from images and instruction """
    if not self._loaded:
        raise RuntimeError("Model not loaded! Call .load() first.")

    prompt = self.build_prompt(instruction)

    inputs = self.processor(
        images=[images],
        text=prompt,  # Simplified for clarity, full implementation in original
        padding=True,
        return_tensors="pt",
    ).to(self.model.device)

    with torch.autocast("cuda", enabled=True, dtype=torch.bfloat16):
        generated_ids = self.model.generate(
            **inputs,
            max_new_tokens=self.config.max_new_tokens,
            do_sample=self.config.do_sample,
        )

    generated_text = self.processor.batch_decode(generated_ids, skip_special_tokens=True)[0]

    # After getting the text, we parse it to get structured data
    result = {
        "text": generated_text,
        "depth": self._safe_parse_depth(generated_text),
        "trace": self._safe_parse_trace(generated_text),
        "action": self._safe_parse_action(generated_text, unnorm_key="molmoact"),
    }
    return result

# We also need helper methods to parse the output text using regular expressions
def _safe_parse_trace(self, text: str) -> List[List[List[int]]]:
    # ... implementation to find coordinates like [120, 150] in the text ...
    pass

def _safe_parse_action(self, text: str, unnorm_key: Optional[str] = None) -> List[List[float]]:
    # ... implementation to find the 7-dimensional action vector ...
    pass
Making Sense of the Output: Let's Visualize It!
The model gives us a bunch of numbers and text, which is great for a computer but not so great for us humans. To really understand what the model is planning, we need to see it.
So, let's create a MolmoActVisualizer class. This helper will have two main jobs:
- Plot the Trace: Take the trajectory coordinates and draw them right on top of the input image. This lets us see the exact path the model thinks the robot arm should take.
- Plot the Action: Take the 7-number action vector (3 for position change, 3 for rotation change, 1 for the gripper) and turn it into a simple bar chart. This makes it easy to see if the robot wants to move forward, turn left, or close its hand.
class MolmoActVisualizer:
    """Visualization utilities for MolmoAct outputs"""
    def plot_trace(self, image: Image.Image, trace: List[List[int]], title: str):
        fig, ax = plt.subplots(figsize=(10, 10))
        ax.imshow(image)

        if trace and len(trace) > 0:
            trace_array = np.array(trace)
            # Scale coordinates to image size
            h, w = np.array(image).shape[:2]
            x_coords = trace_array[:, 0] * w / 256
            y_coords = trace_array[:, 1] * h / 256

            # Plot the line, start, and end points
            ax.plot(x_coords, y_coords, 'c-', linewidth=2, alpha=0.9)
            ax.scatter(x_coords[0], y_coords[0], c='lime', s=200, zorder=5, label='Start')
            ax.scatter(x_coords[-1], y_coords[-1], c='red', s=200, marker='X', zorder=6, label='End')

        ax.set_title(title, fontsize=14)
        ax.axis('off')
        plt.show()

    def plot_action(self, action: List[float], title: str):
        # ... implementation to create a bar chart of the action values ...
        pass
These visuals are a game-changer. They transform abstract data into an intuitive story about the robot's intentions.
Let's Run the Full Demo!
Alright, all the pieces are in place. We have our model loader, our prompter, our generator, and our visualizer. Let's put it all together in a demo.
We'll start by loading two example images: one from a side-view camera (exocentric) and one from the robot's wrist camera (egocentric). This gives the model a good sense of the 3D scene.
def load_example_images() -> Tuple[Image.Image, Image.Image]:
    """Load example images from HuggingFace"""
    print(" Loading example images...")
    url1 = "https://huggingface.co/allenai/MolmoAct-7B-D-0812/resolve/main/example_1.png"
    url2 = "https://huggingface.co/allenai/MolmoAct-7B-D-0812/resolve/main/example_2.png"
    img1 = Image.open(requests.get(url1, stream=True).raw).convert("RGB")
    img2 = Image.open(requests.get(url2, stream=True).raw).convert("RGB")
    return img1, img2

# Let's see what we're working with
img1, img2 = load_example_images()
display_images(img1, img2) # A helper function to show the images side-by-side
Now, we'll initialize our model, load it, and give it a simple instruction: "close the box".
# Initialize and load the model
model = MolmoActModel()
model.load()

# Define the task
instruction = "close the box"
print(f"\n Task Instruction: '{instruction}'")

# Run inference!
result = model.generate([img1, img2], instruction)

# Let's see the raw text output
print("\n--- GENERATED REASONING ---")
print(result['text'])

# And now, visualize the plan
visualizer = MolmoActVisualizer()
if result['trace']:
    visualizer.plot_trace(img1, result['trace'][0], title=f"Visual Trace for: '{instruction}'")
if result['action']:
    visualizer.plot_action(result['action'][0], title=f"Predicted Action for: '{instruction}'")
When you run this, you'll see the model's full text output, followed by an image with the planned trajectory drawn on it and a bar chart showing the precise action it decided to take. It's the whole process, from pixels to a plan, right before your eyes.
Beyond a Single Step: Tips and Advanced Use
What we've built is amazing, but it only predicts a single action. For a real robotics task, you need a continuous sequence of actions. This is where you'd build a "rollout" loop, where you:
- Get an observation (images).
- Generate an action with MolmoAct.
- Execute that action in the real world or a simulator.
- Get the new observation.
- Repeat.
You can also get more sophisticated with how you handle the action outputs. For instance, you could smooth the actions over a few steps to prevent jerky movements or use custom normalization stats if you're working with a different robot than the one the model was trained on.
Here are a few final tips if you start using this for your own projects:
- Camera Views are Key: The model expects a side view and a wrist view. Sticking to this setup will give you the best results.
- Keep Instructions Simple: Be clear and direct. "Pick up the red block" is better than "Can you please try to grab that reddish object over there?"
- Safety First: Especially if you're working with a real robot, always sanity-check the model's output. The visual trace is your best friend here. Make sure the plan looks reasonable before you let the robot execute it.
And there you have it. We've gone from a high-level concept to a working implementation of a model that can reason about the physical world. It’s a powerful reminder that AI is moving beyond the screen and into our 3D space, and the ability to bridge that gap between seeing and doing is one of the most exciting frontiers in technology today.